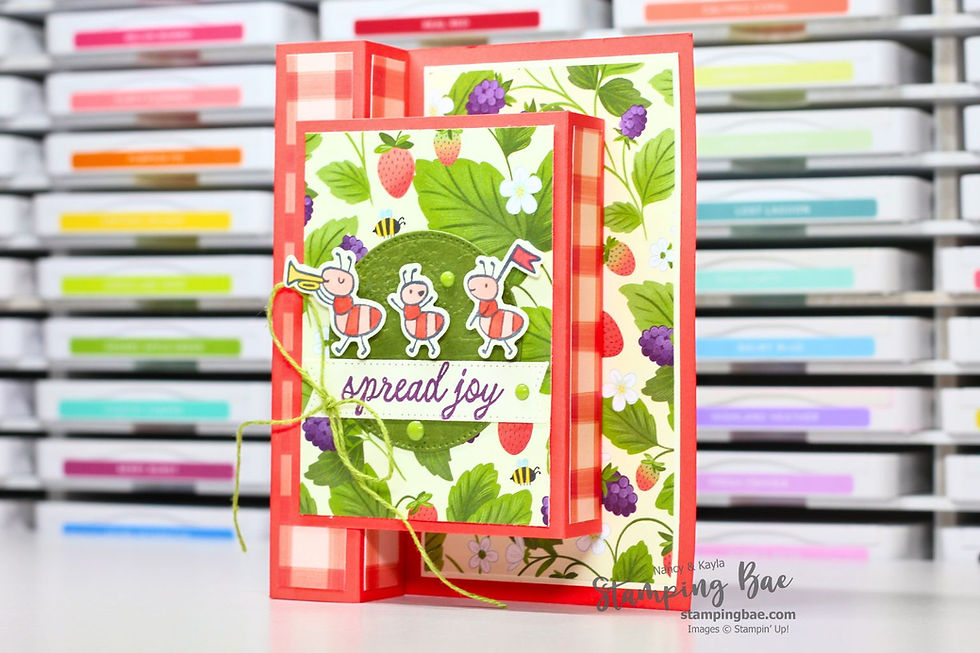
Bay Window Thank You Card
- Nancy & Kayla

- May 22, 2023
- 1 min read
Have a lot of designer series paper? Not sure what to do with it all? The great thing about a Bay Window card is that it really showcases any designer series paper. So if you have a lot stocked up (we know you do 😉), we highly recommend making some Bay Window cards like the ones below!


For the card, you can choose which ever color for your card base (we used Lost Lagoon). Follow the score lines provided below on the card base. Next, we adhered the Basic White Cardstock to the inside of the card. When cutting the Masterfully Made Designer Series Paper, you'll want to make sure you are consistently cutting from the same sheet in order for the designs to line up with one another (see video for context). The sentiment from the Good Feelings Stamp Set was cut using the Nested Essentials Dies and the Stampin' Cut & Emboss Machine.
Make sure to watch the video below for full directions!
Card Measurements:
Lost Lagoon Cardstock
4-1/4" x 11"; score on the long side at 3/8", 1-7/8", 3-5/8", 5-1/8", and 5-1/2"
Scrap for sentiment/die cut
Basic White Cardstock
4"x 5-1/4" (inside)
Masterfully Made Designer Series Paper
4"x 10"; cut one piece at 1"x 4"; then cut the remaining in half at 1/4", 1-1/4", 1-1/2", 1-1/4", and 1/4" (repeat steps for inside DSP)
Check us out on other platforms:


